Wedding Planning Workflow: 6 Stages, From Budget to Day-Of

Wedding Planning Workflow: 6 Stages, From Budget to Day-Of
A good wedding planning workflow moves in order: money and priorities first, then date and venue, then key vendors, then guest-facing details, then confirmations, then the wedding day itself. Each stage unlocks the next, and each task has one owner and one deadline. Below is how those six stages run, when to start each, and what to check before you move on.
TL;DR
- Decide in this order: who is planning, your budget and priorities, a rough guest count, then date and venue. The venue fixes your date and capacity, so it comes before almost everything else.
- Start about 12 months out for the widest choice of venues and vendors. A smaller, flexible wedding can come together in about six months.
- Give every task one owner and one deadline, and keep one master timeline so nobody works from an old version.
- Lock the guest count and confirm every vendor in writing in the last four weeks.
- Jubiliq’s planning tools are free for weddings, with no paid tickets involved.
Table of Contents
- The six stages of a wedding planning workflow
- Stage 1: Foundations (12+ months out)
- Stage 2: Date, venue and first vendors (12 to 6 months out)
- Stage 3: Look and logistics (9 to 4 months out)
- Stage 4: Guest-facing communication (8 months to 6 weeks out)
- Stage 5: Confirmations (the final four weeks)
- Stage 6: The wedding day
- Perspective: why we build the workflow around the event type
- Run the whole workflow in one place
- FAQ
- Sources
The six stages of a wedding planning workflow
Most checklists you find online are long lists sorted by month. That works until a date moves, a venue falls through or the guest list changes. A workflow is easier to run because it groups tasks into stages, and each stage ends with a decision you can’t skip.
| Stage | What gets decided | Typical timing |
|---|---|---|
| 1. Foundations | Planning team, vision, budget, priorities | 12+ months out |
| 2. Date, venue, first vendors | Date window, venue, photographer, caterer, florist, music, officiant | 12 to 6 months out |
| 3. Look and logistics | Attire, accommodations, transport, rehearsal dinner | 9 to 4 months out |
| 4. Guest-facing communication | Save-the-dates, website, invitations, RSVPs | 8 months to 6 weeks out |
| 5. Confirmations | Headcount, seating, vendor details, balances, license | Final 4 weeks |
| 6. Wedding day | One timeline, owners for each task | Day of |
The stage names are ours, but the sequence matches what the sources below describe. One planning guide sorts a checklist into four decision gates: money, guest range and priorities; date, venue and first vendors; guest-facing paper and logistics; and confirmations and final payments. Our six stages split the same path a little finer.
Stage 1: Foundations (12+ months out)
Before you tour a single venue, settle the questions that every later choice depends on. The Los Angeles Times suggests starting with who will take part in planning, then talking through your vision, a realistic spending limit, who is contributing, and your non-negotiables. A preliminary guest count and a date and venue brief come after that.
Name the planning team
Decide who has a vote and who simply helps. Parents who contribute money often expect input. Agree on that early, and write down who handles which category (venue, food, music, paper, travel). Tasks without an owner are the ones that slip.
Set the budget and rank your priorities
Priorities need to be explicit. Couples value food, flowers, the venue, the guest experience or formality differently, and the expert planning perspective in the LA Times guide is that you should say which ones matter most before you spend.
For context, Carats and Cake reports that the average US wedding cost $34,000 in 2025 with an average of 117 guests, roughly $292 per guest. Your own number may be far lower or higher. What matters is that the budget is split by category before you request quotes. Our wedding budget breakdown shows how a venue-heavy split can turn into quote requests.
Exit check for stage 1: a total budget, a ranked top three, a guest range (not an exact number), and a named owner for each category.
Stage 2: Date, venue and first vendors (12 to 6 months out)
Timing here is where couples feel the most pressure, so use real numbers. WedStay advises starting about 12 months out: set the budget and guest count, choose a date window, and book the venue, since the venue fixes date and capacity. The same guide says a smaller wedding on an off-peak date or a weekday can come together in about six months if the date stays flexible. Paperlust makes the same point: 12 months gives the widest venue and vendor choice, while six months works with a tighter shortlist.
Popular dates go early. According to Carats and Cake, desirable Saturdays in May, June, September and October in major markets are gone 12 to 14 months ahead.

Book the vendors who fill up first
The same source says couples hire an average of 13 wedding professionals, and the five that book furthest out are the photographer, caterer, florist, music and officiant. Strong photographers are often booked 10 to 12 months ahead for peak dates. Book those five right after the venue, and leave decorations, rentals and stationery for later.
Keep every vendor in one place
From the first inquiry, record each vendor’s name, contact, quote, deposit, balance due and due date in one list. When you reach stage 5, you will be confirming from that list rather than digging through email threads. Jubiliq’s vendor and contract management keeps those details next to your budget, so a deposit paid updates your totals.
Exit check for stage 2: a signed venue contract, a confirmed date, and deposits paid for your first-wave vendors.
Stage 3: Look and logistics (9 to 4 months out)
With date and venue fixed, the middle stage is about the parts that take lead time but not daily attention.
- Attire: dress and suit orders and fittings run on the maker’s schedule, so start early.
- Accommodations: reserve hotel rooms or houses for out-of-town guests, including for the wedding weekend. Our guest-lodging notes on choosing the right group stay cover what to compare.
- Transport: shuttle or car plans for the wedding party and guests, plus your own exit. Ideas and safe decorating tips are in this guide to getaway vehicles.
- Ceremony and rehearsal: confirm the officiant, ceremony format and rehearsal location.
Marriage.com’s typical sequence puts attire, save-the-dates, ceremony, accommodation, invitations and transport between the key vendors and final details, which fits this stage.
Exit check for stage 3: attire ordered, lodging blocks held, transport sketched, and the rehearsal dinner location chosen.
Stage 4: Guest-facing communication (8 months to 6 weeks out)
This stage turns your private plan into something guests can act on. Paperlust recommends save-the-dates 6 to 8 months before the wedding and invitations 6 to 8 weeks before. Our guide to save-the-date email wording and timing covers the email route.
Build the guest list once
Make the preliminary list early, then lock it before invitations go out. A single list that holds addresses, plus-ones, meal choices and RSVP status avoids the usual cleanup later. See how to lock your guest list and export vendor-ready RSVPs.
Publish one source of truth for guests
A wedding website that answers where, when, what to wear and where to stay cuts the stream of one-off questions. Our list of wedding website content essentials shows what to include. Keep RSVPs and messages in the same system as the guest list. Our guest communication plan explains how.
Plan the rehearsal dinner milestones
The rehearsal dinner is a guest-communication moment too, with its own invitations, head count and menu decisions. These rehearsal dinner planning milestones show when to start working on it, in this case four to five months out.
Exit check for stage 4: save-the-dates sent, invitations out, RSVPs flowing into one list, and a website that is live.
Stage 5: Confirmations (the final four weeks)
This is the stage where a workflow earns its keep. Almost everything is already booked, and the job is to confirm, count and pay.
Paperlust’s final-month checklist places the work like this:
| When | What to do |
|---|---|
| 4 weeks out | Work on headcount and the seating chart |
| 3 weeks out | Call vendors to confirm and draft the day-of timeline |
| 2 weeks out | Give the final guest count; sort out rings and witnesses |
| 1 week out | Venue walkthrough, handover list, payment envelopes |
Another source, Modern Moments, notes that most caterers require the final guest count two to three weeks out, and advises confirming every vendor in writing. Pix Wedding’s two-week countdown goes day by day: lock the guest count and send it to the caterer and venue on day 14, finish the seating chart on day 13, and confirm each vendor in writing (arrival time, address, day-of contact, balance due) on day 12. Then pay balances and prep tip envelopes on day 11, send the timeline to vendors and the wedding party on day 10, and check the marriage license waiting period.
That last point is local. Marriage license rules vary by state and county, so check your county clerk’s page for the validity window and any waiting period, and for what your witnesses must bring.
Earlier items that fall inside the final stretch
Minted’s timeline puts several tasks a little earlier: at three to four months, send invitations, do the menu tasting and choose ceremony music. At two months, follow up on RSVPs, schedule the rehearsal and order table numbers. At one month, pay remaining vendor balances, obtain the marriage license and send the wedding-day timeline to the wedding party and vendors. Use whichever timing fits your calendar. What matters is that each item has a date.

Seating without reprinting
Seating is the one task that changes every time an RSVP changes. Build it digitally and print once. Our guides to building seating charts in a few clicks and seating chart etiquette show how to skip full reprints.
Exit check for stage 5: final count delivered, seating done, every vendor confirmed in writing, balances paid or envelopes labeled, license in hand.
Stage 6: The wedding day
The day itself should be a run of a plan that already exists. One master document is the core. Steve Bender Entertainment recommends including vendor names, roles, phone numbers, arrival times, ceremony and reception timing, special dances, toasts, cake cutting, exit plans, family contacts and task ownership. Send one updated final version one to two weeks out, covering arrival times, setup needs, the contact person, changes and weather plans.
The same source’s point of view is that missed responsibilities come from two causes: several competing timeline versions, or tasks with no owner. That is why we say “one timeline, one owner per task.”
What a realistic timeline looks like
Brides.com’s expert timeline gives a feel for pacing:
- Hair and makeup start at 11 a.m.
- The photographer arrives 30 minutes before the couple is dressed.
- The ceremony starts about 15 minutes after the invitation time.
- Non-religious ceremonies run around 20 minutes, religious ones up to an hour.
- Toasts should run no more than five minutes each.
If your reception includes a DJ, build the schedule around the music cues. This DJ-first reception timeline with a cue sheet is a useful model for the reception hours. For ready-made day-of formats, see our three wedding day timeline templates.
Perspective: why we build the workflow around the event type
Most couples don’t struggle with any single task. They struggle with the same list showing up in five places: a spreadsheet for guests, a note for the budget, an email thread for vendors, a printed timeline someone has already marked up.
At Jubiliq, we built the planning interface to adapt to the event. For a wedding, it shows the guest list, RSVPs, budget, vendors, tasks, seating and a printable day sheet. It hides the tools a wedding doesn’t need, such as ticketing or sponsorship sales. Fewer options on screen means fewer places for a decision to get lost.
We think a workflow should be visible to everyone who owns a piece of it. Real-time updates and financial tracking mean that when a deposit is paid or a guest declines, the totals and the seating plan reflect it right away. Then the day sheet you print is the one everyone has agreed on.
HCRF
Run the whole workflow in one place
Jubiliq brings these six stages into one planning space: guest list with RSVP tracking, budget, vendors and contracts, tasks, seating, catering workflows and a printable day sheet. You can publish an event website or keep the event in planning-only mode.
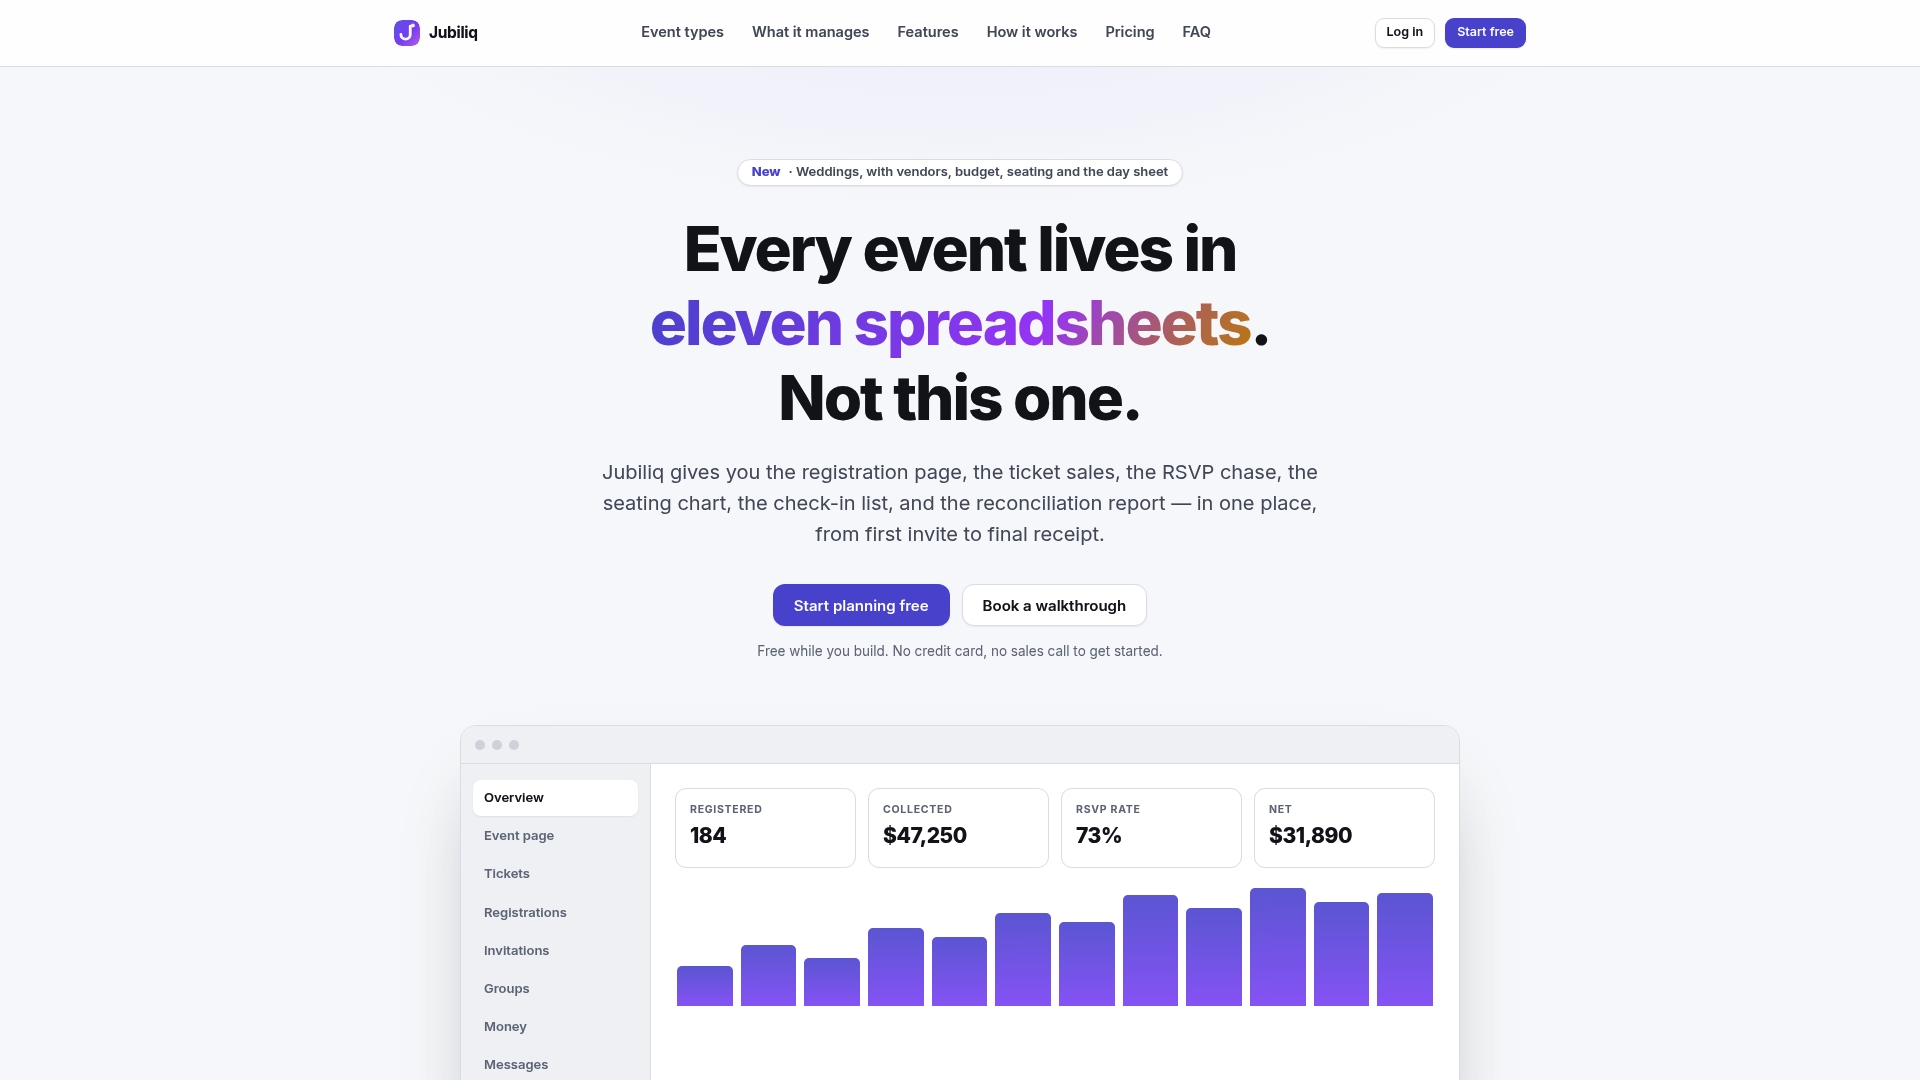
The Starter plan is $0 per event. Weddings and other events without paid tickets are free to plan. The Organizer plan is 2% per paid registration, plus Stripe fees, which applies to events that sell tickets or take paid registrations. Enterprise pricing is custom. See the plans on Jubiliq and start your wedding workflow.
FAQ
How far ahead should I start planning a wedding?
About 12 months out gives you the widest choice of venues and vendors, according to Paperlust and WedStay. A smaller wedding with a flexible date, such as off-peak or a weekday, can come together in about six months. If you want a peak-season Saturday in a major market, start earlier.
What should I do first when planning a wedding?
Decide who is involved in planning, then agree on your vision, budget, who is contributing and your non-negotiables. After that, set a rough guest count and a date and venue brief, as the Los Angeles Times guide suggests. Venue and date come only after those answers.
Which vendors should I book first?
Photographer, caterer, florist, music and officiant tend to book furthest out, per Carats and Cake. Book them right after your venue. Rentals, stationery and smaller extras can wait.
When do I give the caterer my final guest count?
Most caterers ask for it two to three weeks before the wedding, according to Modern Moments. Check your own contract for the exact deadline. Chase outstanding RSVPs about two months out so the number is firm in time.
How do I keep everyone on the same timeline?
Keep one master document and send one updated final version about one to two weeks before the wedding. Name an owner for each task, and retire older versions so nobody works from them.
Sources
- How to Start Planning a Wedding: A First Steps Guide, Los Angeles Times
- How to Plan a Wedding: The Complete 50-Step Guide, Paperlust
- Wedding Planning Timeline: What to Do, Month by Month, Carats and Cake
- How to Plan a Wedding: A Step by Step Guide, WedStay
- 42 Steps Guide to Perfect Wedding Planning, Marriage.com
- Wedding Planning Checklist: Tasks, Owners and Gates, My Wedding Source
- The Complete Wedding Planning Checklist and Timeline, Minted
- Your Wedding To-Do List for the Final Month, Paperlust
- 2 Weeks Before Wedding Checklist: Days 14 to 8, Pix Wedding
- 30 Days Out: Your Final Month Wedding Checklist, Modern Moments
- Wedding Vendor Coordination Checklist, Steve Bender Entertainment
- An Expert-Approved Timeline for Your Wedding Day, Brides.com
- DJ-first reception timeline with cue sheet
- Wedding getaway vehicle ideas and safe decorating tips
- Rehearsal dinner planning milestones
- Choosing spacious group lodging