Mobile Event Registration: How to Set It Up Right

Mobile Event Registration: How to Set It Up Right
Mobile event registration means guests sign up, pay and get confirmed from their phones, then arrive with something simple to show at the door. Do it well with four things: a short form that fits a thumb, a fast confirmation, a few well-timed reminders, and a check-in method that still works when the venue Wi-Fi does not. This guide walks through each one, with examples for weddings, galas, corporate events and golf outings.
TL;DR
- Design the registration page for a phone first: one column, big tap targets, only the questions you need to run the event.
- Send the confirmation right away, with the event details and a calendar invite, and say what the guest will hear from you next.
- Remind people by email or text twice at most for most events, then give them clear day-of logistics.
- Plan check-in before the event: a scannable code or a printed list, plus a backup for dead batteries and weak signal.
- Treat guest data with care: collect little, know where it is copied, and decide how long you keep it.
Table of Contents
- What mobile event registration actually is
- Build a registration page that works on a phone
- Ask less: the fields that earn their place
- Group sign-ups and ticket payments
- The confirmation: your first message
- Reminders and pre-event communication
- Check-in on event day
- Accessibility, privacy and security
- A simple launch checklist
- Run your registration with Jubiliq
- FAQ
- Sources
What mobile event registration actually is
Most guests will open your invitation on a phone, often from a text or a social post, often while doing something else. Mobile event registration is simply a sign-up flow built for that moment. The guest taps a link, answers a few questions, pays if a ticket is required, and gets a confirmation they can find again later.
For attendees, the appeal is speed. Industry writers describe mobile-first registration as covering the whole journey from sign-up to on-site check-in, with a scannable QR code issued at registration that guests can present for contactless entry. For organizers, the appeal is cleaner data: answers arrive in one place instead of scattered across texts, emails and paper cards.
It is not only for large conferences. A bride tracking 120 RSVPs, a nonprofit selling gala tables and a golf outing collecting foursomes all face the same situation: the invitees are on their phones, and every extra step costs you responses.
Build a registration page that works on a phone
A page that looks fine on a laptop can be painful on a phone. Use this checklist before you publish.
Keep the layout to one column
Put the event name, date, location and the main button near the top, so a guest sees what they are signing up for without scrolling past a banner. Stack fields vertically. Side-by-side fields get cramped and are easy to mis-tap.
Make every control easy to tap
Use large buttons, generous spacing between fields and checkboxes with labels that are also tappable. Choose pickers, toggles and dropdowns over free typing where you can: “Attending / Not attending” takes one tap, a typed answer takes twenty.
Let the phone do the typing
Use the right field types so the phone shows the right keyboard: a number pad for phone numbers, an email keyboard for addresses. Standard field labels also let the phone’s autofill fill in names and addresses for the guest.
Show progress on longer flows
If you need ticket selection, guest details and payment, split them into short steps with a visible progress indicator. A guest who sees “Step 2 of 3” is more likely to finish than one facing a long scroll. Some form vendors cite figures showing multi-step forms outperform single-page ones, but the gain depends on your event and audience, so judge by your own completion rate.

Test it on real phones
Open your own link on an older phone, on cellular data rather than Wi-Fi, and in both portrait and landscape. Ask someone who has never seen the event to register while you watch. Wherever they hesitate is where you lose guests.
For a full walk-through of the steps and common failure points, see our guide to the event registration flow.
Ask less: the fields that earn their place
Every question you add is a reason to quit. The principle is simple: collect only what you need to plan, confirm and run the event. Guides on phone-friendly forms list the usual core as name, email, phone, attendance status, ticket or session type, guest count, accessibility and dietary needs, and consent. The same advice is to keep required fields few, mark optional ones clearly, and make planning questions optional unless logistics depend on them.
Here is how that looks by event type.
| Event | Required | Optional or conditional |
|---|---|---|
| Wedding RSVP | Name, attending or not, party size | Meal choice, song request, accessibility needs |
| Fundraising gala | Name, email, ticket or table type, payment | Dietary needs, seating preferences, company name |
| Corporate client event | Name, email, company | Session choice, dietary needs, plus-one |
| Golf outing | Name, email, foursome or single entry, payment | Shirt size, dinner attendance, handicap |
A few rules of thumb:
- Ask for a phone number only if you will use it. If you plan day-of text updates, say so right under the field.
- Make dietary and accessibility questions specific. An open box produces vague answers. A short checklist plus an “other” line gives your caterer something usable. Our dietary restrictions list shows what to track.
- Show questions only when relevant. Ask about a guest’s meal choice only after they say yes. Ask for a plus-one’s name only if a plus-one is allowed.
- Tie each question to a decision. If you cannot say what you will do with the answer, cut the question.
For more on which questions protect your event day, read our piece on registration form questions.
Group sign-ups and ticket payments
Groups are where mobile forms often break. A person registering four colleagues, a table of ten or a golf foursome should not have to repeat the whole form on a phone four times.
- Let one person register a party. Ask for the group size first, then collect names. For tables or foursomes, require details for the lead contact and make the rest optional until closer to the event.
- Offer clear ticket options. Name each ticket type in plain words, show the price on the same screen and say what is included (dinner, drinks, cart, swag).
- Keep payment short. Use a payment step that supports the wallets and cards guests already carry on their phones, and show the total before the final tap.
- Handle sponsorships and donations in the same flow. A gala guest who wants to add a donation or a sponsor who wants a package should not leave the page to do it.
If your event is free, you do not need a payment step at all. Free events keep the form even shorter, which usually means more completed registrations.
The confirmation: your first message
The confirmation is the moment a guest decides whether the registration “stuck”. Send it immediately. One event marketing guide recommends delivery within 60 seconds, with a calendar invite attached, the event details restated, and a note on what the guest will hear from you next.
A good confirmation includes:
- The event name, date, start time and full address, with a map link.
- What the guest registered for: ticket type, party size, meal choices.
- A calendar file so the event lands in their phone calendar.
- Their check-in method, such as a code or “your name will be on the list”.
- A way to change or cancel, and who to contact with questions.
- When you will write again.
We have drafted wording for this in our registration confirmation email and calendar templates. If plans change, our cancellation email templates save you from writing under pressure.
Reminders and pre-event communication
Registration is not attendance. The gap between the two is filled by what you send in between.
For most events, keep it light. One reminder guide suggests two text reminders are usually enough: one about 48 hours ahead and one on the morning of the event. It also notes that messaging apps can suit international audiences or groups already talking in them. Whatever channel you use, get consent for texts when you collect the number.
Make each message do one job:
- Reduce friction: parking, what to bring, dress code, entry point, accessibility information, check-in steps.
- Build confidence: clear instructions on what happens when they arrive.
- Build excitement: a speaker lineup, a menu preview, a sponsor announcement.
Email still carries the longer messages. Our RSVP reminder emails cover timing at 7 to 14 days and 3 to 5 days out. For a wider view, the guest communication plan shows how to keep RSVP status and messaging in sync, and our guide to RSVP tracking beyond 20 guests helps when your list outgrows a spreadsheet.
Segment your messages. Guests who said yes need logistics. Guests who have not answered need a nudge. Guests on a waitlist need something else entirely. Sending everyone the same blast trains people to ignore you.
Check-in on event day
Registration pays off at the door. Decide your check-in method while you build the form, because it determines what data you must collect.
Pick a primary method
- Scannable code: each guest receives a unique code at registration and shows it on their phone. It is quick and contactless, and it works well for ticketed galas and conferences.
- Name lookup: a volunteer searches a guest list. It suits weddings, parties and smaller dinners where people know each other.
- Printed list: a simple alphabetical sheet by last name. It is dull and it never runs out of battery.
Plan for weak signal and dead phones
Venues such as ballrooms, golf clubs and convention halls often have poor reception, and a crowd of guests arriving at once makes it worse. Before the event:
- Print a final guest list and a day sheet as a backup, even if you plan to use phones.
- Tell guests to save or screenshot their confirmation before they leave home.
- Bring a charger or power bank for the check-in device.
- Set up at least two check-in points for events over about 100 guests, and label a separate line for problems.
- Give your check-in team a rule: if a guest cannot find their code, look them up by name and let them in. Fix the details later.
A printable day sheet with the final headcount, meal counts, seating and vendor contacts keeps the whole team on the same page. Nobody should need a data connection to find out who is allergic to shellfish.
Accessibility, privacy and security
A registration page is also a data-collection tool, which brings a few responsibilities.
Accessibility. Use readable text sizes, strong color contrast, labels on every field and clear error messages that say what went wrong. Test with your phone’s text-size setting increased. Offer a way for guests to share access needs and tell them who will see the answer. Provide a contact email or phone number for guests who cannot complete the form on a phone.
Privacy. The work does not end when a guest hits submit. Decide which systems receive the data, which vendors can access it, how long records are kept and how deletion or correction requests are handled, because a registration tool, email system, venue and check-in app can each hold a copy. Practical steps: share the caterer only dietary data, not payment details; give the venue only names and counts; delete or archive guest data after the event on a schedule you set.
Payment security. Use a recognized payment processor rather than collecting card numbers in a form field, and never email or text card details.
Consent. Add a clear, unticked checkbox for marketing messages or text updates, separate from the registration itself. If you operate in regions with specific privacy laws, check the official guidance for your location and audience before you collect data.

A simple launch checklist
Before you send the link, run through this list:
- The page loads quickly on cellular data and fits a small screen without sideways scrolling.
- Every required field has a reason; every optional field is marked optional.
- Group, ticket and payment paths have each been tested start to finish.
- The confirmation arrives right away, contains a calendar file and states the next message.
- Reminders are scheduled, with consent recorded for texts.
- Your check-in method and your backup are decided, and the day sheet is printed.
- Someone owns the inbox for guest questions.
What we believe about mobile registration
At Jubiliq, we think the best registration experience is the one guests barely notice. A bride, a gala chair and a golf outing host all need different things, which is why our planning interface adapts to the type of event and hides the tools that do not apply. A wedding does not need ticket tiers. A gala does not need a song request box.
We also believe registration should not be a separate island. Guest lists, RSVP tracking, budgets, vendors, tasks and the printable day sheet belong in one place, so the answer a guest gives on their phone shows up where the planner needs it, with real-time updates as responses arrive.
Our approach is to keep the front door simple for guests and keep the operational detail organized for you. That means fewer add-ons, fewer spreadsheets and fewer surprises on the day.
HCRF
Run your registration with Jubiliq
If you want one place for the invitation, the RSVP, the tickets and the day sheet, Jubiliq is built for that. Our platform covers guest list management with RSVP tracking, budgeting, vendor and contract management, task scheduling, seating and catering workflows, ticket and sponsorship sales, donation handling, segment email blasts and CSV export for your accounts. You can publish an event website or use planning-only mode.
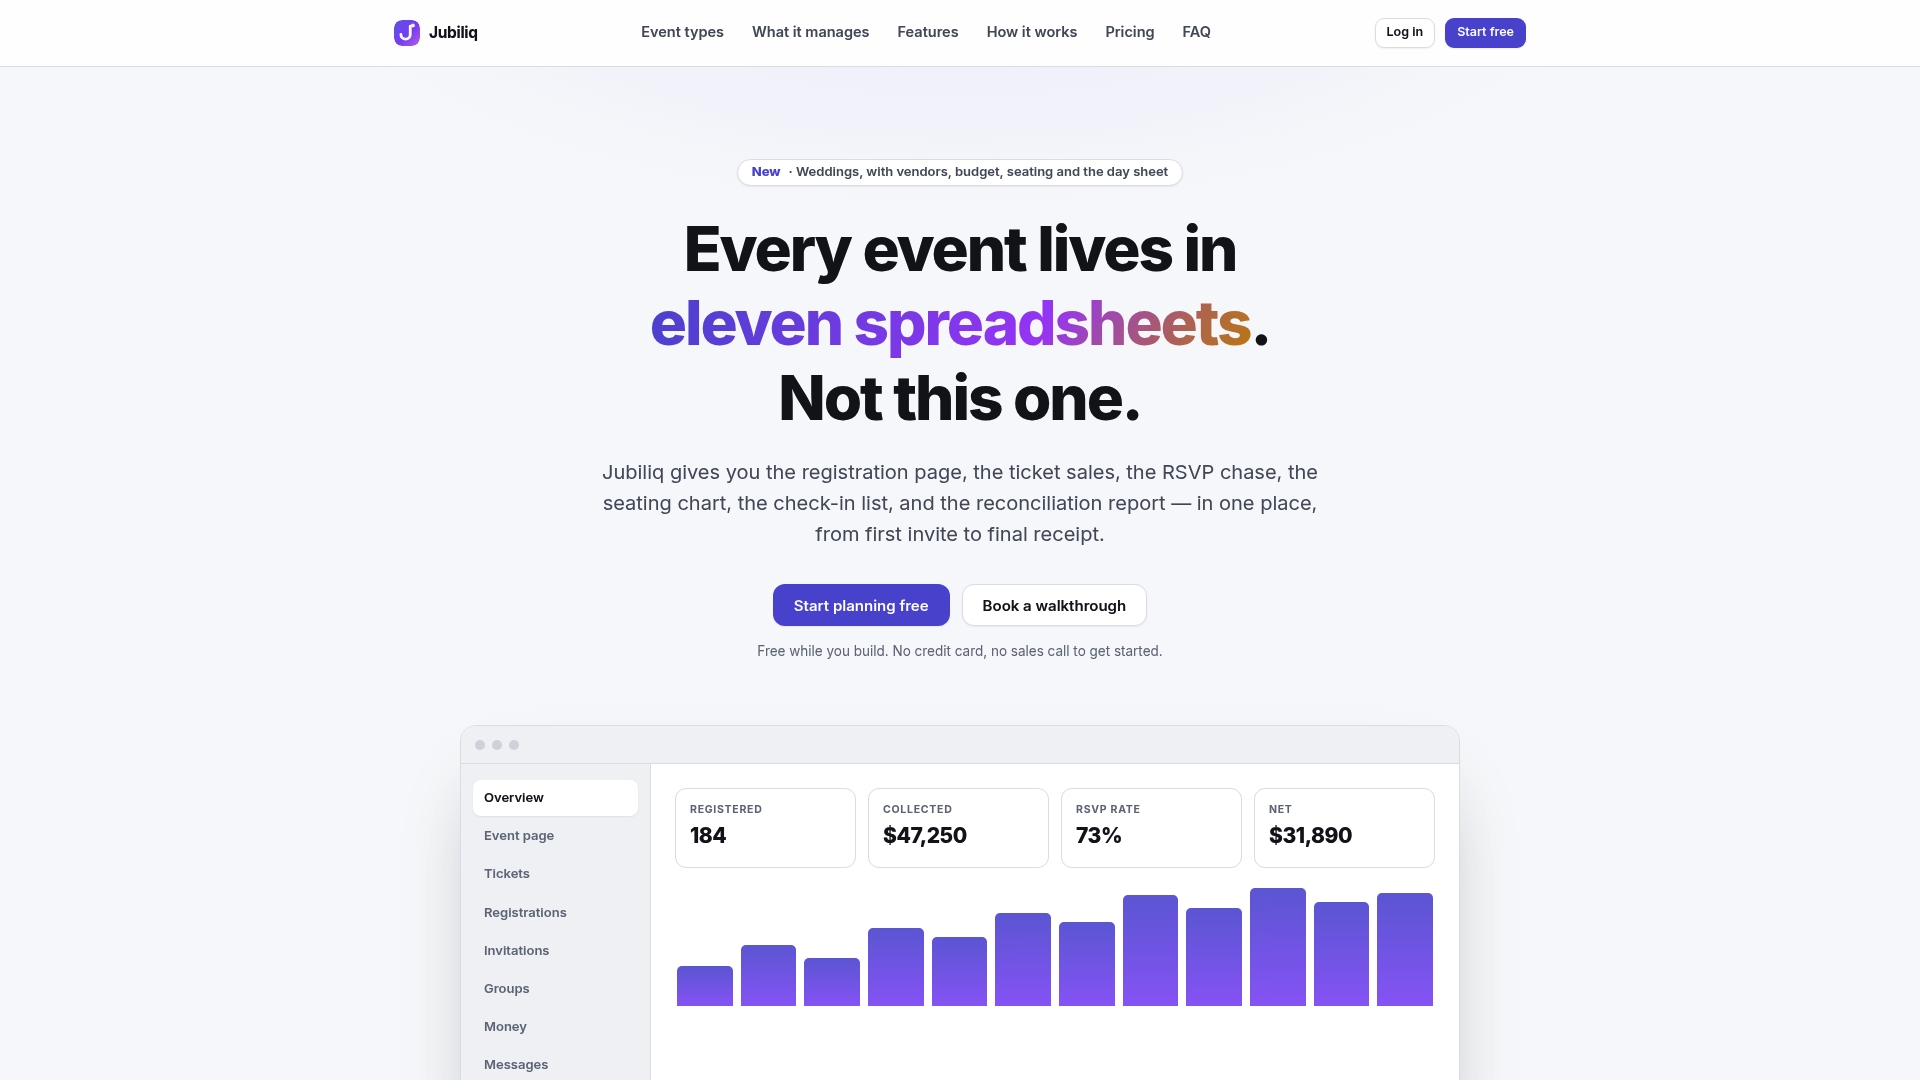
Pricing is simple. The Starter plan is $0 per event, which fits events without paid tickets such as weddings, parties and planning-only mode. The Organizer plan charges 2% per paid registration, plus Stripe fees. Enterprise and multi-event organizations get custom pricing. Pick the plan that matches your event on our pricing and plans page, and start building your registration page today.
FAQ
How many questions should a mobile registration form have?
As few as it takes to confirm the guest and run the event. For most events that means name, email, attendance or ticket choice and party size, with everything else optional. Add dietary or accessibility questions only when a vendor or venue needs the answer.
Do I need a QR code for check-in?
Not always. A scannable code speeds up large or ticketed events, while a name search or printed list works well for weddings and small dinners. Whatever you choose, keep a printed backup in case phones or signal fail.
When should I send reminders after someone registers?
For most events, two reminders are enough: one a couple of days before and one the morning of. Add earlier email reminders for guests who have not responded. Use texts only for guests who agreed to receive them.
Can guests register a group from their phone?
Yes, if your form is set up for it. Ask the group size first, collect the lead contact’s details and let the rest of the group fill in their names later if needed. This works for tables, families and golf foursomes.
Is mobile registration free to use with Jubiliq?
Events without paid tickets, such as weddings, parties and planning-only mode, are free on the Starter plan. For events with paid registrations, the Organizer plan charges 2% per paid registration plus Stripe fees.
Sources
- Event Registration Mobile App, Event Organisers Summit
- How To Create Registration Form With Phone, FormsAI
- Pre-Event Marketing Strategy, LTL Creative
- Event Reminder Messaging: SMS and WhatsApp Strategies, Telerivet
- Event Registration Best Practices, 1021 Events