Silent Auction Setup for Nonprofits Starts With 6 Volunteer Tasks

Silent Auction Setup for Nonprofits Starts With 6 Volunteer Tasks
A successful silent auction hinges on three things: a well-planned layout, compelling presentation of items, and a clear bidding and checkout system. A silent auction is a type of auction where goods or services go to the highest bidder, and bids are placed quietly on paper or a phone. Start by confirming your layout and reserving display space for your marquee items. Planning tools like Jubiliq can keep the rest organized.
TL;DR:
- Organizers should measure the venue, locate outlets, and photograph items before fixing table positions, because displays should stay put once bidding begins.
- A $100 starting bid and $10 minimum increment require the next offer to reach $110; bid sheets should also state tie rules and closing times.
- Paper bidding suits events without reliable Wi Fi or devices, while mobile systems let guests bid anywhere in the room and receive outbid alerts.
- A balanced catalog should pair sought after experiences and unique packages with themed baskets or gift certificates, giving bidders options across price levels.
- Volunteers should tag every item, secure valuables and vouchers, and release purchases only after payment clears; announce accepted payment methods before bidding opens.
Table of Contents
- Your silent auction setup checklist, with timing
- Where to put the tables and how to plan traffic flow
- How to display items so they attract bids
- Bid sheets and bidding systems: paper versus mobile
- What to solicit and how to group items
- Pricing: starting bids, increments, and reserves
- Day-of logistics and timeline
- Volunteers and staffing
- How to attract bids before and during the event
- Checkout, payments, and follow-up
- What experienced fundraisers prioritize
- Plan your silent auction with Jubiliq
- FAQ
- Sources
Your silent auction setup checklist, with timing
Hand this list to your volunteer lead. It covers every task you need to assign, with a rough time window for each.
- Venue and table layout: confirm the space, power, and furniture well before the event.
- Item categories: sort donations into groups as they arrive, ongoing through 2 weeks out.
- Bidding method: decide between paper sheets and mobile bidding well before the event.
- Photos and descriptions: schedule this work before the layout is final, since you need the details to plan table space.
- Opening and closing times: set them and print them on signage 1–2 weeks out.
- Volunteer roles and signage: assign people and print signs 1–2 weeks out.
Then work the sequence in order:
- Confirm the venue and measure the space.
- Reserve time to photograph items and write descriptions.
- Lock the table layout and category groupings.
- Finalize your bidding method and payment plan.
- Print bid sheets, signs, and the day sheet.
- Set up on the day and confirm the pickup plan for winners.
Our fundraiser planning checklist turns this into a timeline you can share.
Where to put the tables and how to plan traffic flow
Location shapes how many people browse. Presentation and an item’s spot in the venue make a world of difference, and displays should be visible without blocking registration. A spot near the foyer or reception works well, as long as guests can still check in and reach dinner without squeezing past your tables.
Plan the room around these basics:
- Measure first: collect dimensions, outlet locations, lighting conditions, and the number of tables and chairs the venue provides.
- Leave aisle room: guests will stop, read, and lean in to write, so keep walkways wide enough for two people to pass behind someone bidding.
- Space the tables: give each table enough room so a few people can read bid sheets at once without forming a crowd.
- Limit items per table: a crowded table hides your best pieces and makes descriptions hard to read.
- Group by category: put travel together, food and drink together, and kids’ items together. Guests shop by interest, and grouping keeps people from crossing paths.
- Place signage at eye level: put category signs at the entrance to each group and a directional sign near registration.
Once you set the layout, keep it. The same source advises that displays should not be moved after you decide, because bidders return to items they have already looked at.
Pro Tip: Walk the empty room with a volunteer and a tape measure a few days before the event. Mark each table position with tape so setup is straightforward.

How to display items so they attract bids
Bidders decide quickly, so each item should explain itself. Clear photos, short descriptions that lead with the benefit, and a tidy table do most of the work.
- Photograph and describe: show what the winner gets and why it is appealing, in a sentence or two.
- Show samples: where you can, display the actual item, a sample, or a printed voucher.
- Raise and unify: use risers to add height and matching tablecloths so the area looks intentional.
- Spotlight a few stars: give your highest-value items their own feature area with extra space and good lighting.
- State the fine print: list donor names, expiration dates, and blackout rules right on the sheet.
- Bring experiences to life: for a trip, dinner, or class, show a photo of the destination or a menu, and add a framed description or voucher.
A balloon installation or styled backdrop can also frame a feature area; our friends at Atlanta Balloon Designer share ideas for gala décor that draws donors toward the display.
Presentation and placement carry real weight, and the guidance is plain: presentation is everything when it comes to the attention your items earn.
Display note: A well-placed, well-presented item is easier for guests to notice and consider bidding on. Treat every table as a small storefront.
Bid sheets and bidding systems: paper versus mobile
A good bid sheet answers every question a bidder might have. Include the item name, donor, starting bid, minimum bid or increment, and lines for bidder name or number and contact details.
The increment mechanics trip people up, so be precise. In the EventCaddy help center, the guidance is that the minimum bid determines the increment for subsequent bids. If an item has a starting bid of $100 and a minimum bid of $10, the next bid must be at least $110.
Paper and mobile each have a place:
- Paper: simple, familiar, and needs no devices or Wi-Fi. Setup means printing sheets, adding pens, and assigning volunteers to watch the tables.
- Mobile: bidders can place offers from anywhere in the room, and the system can notify supporters when they are outbid, which keeps competition going.
Whichever you choose, set the operational rules in advance:
- Announce when bidding opens and closes, and print both times on signage.
- Decide how ties are handled and say so on the sheet.
- Close each category on a clear signal, then collect the sheets.
- Announce winners and send them to checkout.
Ask for contact details through your registration form so you have them at close. Our guide to registration questions shows what to collect.
What to solicit and how to group items
A balanced catalog keeps every guest interested. Mix big-ticket items with easy impulse buys so there is something at every price level. Silent auctions are a multi-step process, and sourcing a balanced mix of items is one of the early steps.
- Experiences: dinners, classes, trips, and behind-the-scenes tours often draw the most excitement.
- Themed baskets: group smaller donations around a theme, such as movie night or a spa day.
- Gift certificates: easy to display, easy to value, and popular across ages.
- Unique packages: anything guests cannot buy in a store.
When you ask donors, send a short request that explains the cause, the date, and the item you hope for. Track every donation in one list with the donor’s name, contact, estimated value, and any restrictions. Then organize by price band and type so bidders can find what suits them.
Pricing: starting bids, increments, and reserves
Set a starting bid at a defensible share of the item’s retail value, so early bids feel like a bargain without undervaluing the donation. Choose a defensible starting bid based on the item’s retail value, then apply your rule consistently.
- Match increments to price: small items need small steps; big packages can take larger jumps.
- Know the mechanics: with a starting bid of $100 and a minimum bid of $10, the next bid must be at least $110, as EventCaddy explains.
- Use a reserve sparingly: label it clearly if you do, or suggest a starting range on the sheet instead.
- Review before opening: read through each sheet to confirm numbers match your plan.
Pro Tip: Set lower increments on popular items so many people can join in. More bidders usually means more back and forth.
Day-of logistics and timeline
A written timeline keeps volunteers calm. Adapt these times to your event:
- Arrive early and walk the room with the layout plan.
- Photograph any last items and finalize tags.
- Set tables, signs, and bid sheets or devices.
- Open registration and brief volunteers.
- Open bidding, with a countdown announcement near the close.
- Close bidding, collect sheets, and send winners to checkout.
Keep these protections in place:
- Item tagging: tag every item so it matches its sheet.
- Safe storage: keep valuables and vouchers in a secured spot until pickup.
- Pickup protocol: release items only after payment is confirmed.
- Communication: use a printed day sheet, radios, or an app so everyone hears the same updates.
- Supplies and backups: bring extra pens, tape, sheets, power strips, and a plan for dead batteries or a Wi-Fi drop.
A catering plan matters; this catering checklist helps with venue logistics and supplies.
Volunteers and staffing
You need only a few clear roles.
- Registration and checkout: issue bidder numbers and take payment.
- Bid monitors: watch tables, fix sheet errors, and answer questions.
- Item handlers: tag, move, and guard items.
- Photographers: capture items and winners for follow-up.
- Runners: carry sheets, supplies, and messages.
Train volunteers by showing them the layout, explaining bid rules, and walking through a sample checkout. Give two scripts. At registration: “Welcome! Here is your bidder number; please keep it with you.” At checkout: “Congratulations! Your total is on this sheet, and here is how you can pay.” Aim for one monitor per few tables and add more for crowded categories.
How to attract bids before and during the event
Momentum starts before doors open. Spotlight marquee items in email and social posts with photos and a suggested starting range. Our guest communication plan shows how to keep invitees informed.
- Pre-event teasers: share one featured item at a time.
- Onsite announcements: call out featured items and countdowns.
- Directional signage: point guests toward the auction area.
- Incentives: offer early-bird prizes or a sponsor match challenge.
- Targeted outreach: invite donors who care about specific items.
Pro Tip: Announce a final warning before bidding closes. Last-minute bids often arrive once guests realize time is running out.
Checkout, payments, and follow-up
A fast checkout keeps winners happy.
- Confirm the winner: match the bidder number to the sheet.
- Collect payment: accept the methods you announced in advance.
- Give a receipt: print or email one on the spot.
- Tag for pickup: hand over the item or voucher once paid.
- Handle failures: if a payment fails or a winner is absent, follow your posted policy and contact them the next day.
After the event, send thank-you letters to donors and winners, update donor records, and note totals for your books. Post-auction follow-up is part of the full planning process.
What experienced fundraisers prioritize

Three things matter most: presentation, simple bidding rules, and reliable checkout. A common pitfall is a crowded table where the best item hides behind lesser ones, so guests walk past. The fix is simple: feature a few stars with space and a clear sheet, and trim the rest. That discipline matters more than any extra decoration, and a planning tool keeps the details from slipping.
HCRF
— HCRF
Plan your silent auction with Jubiliq
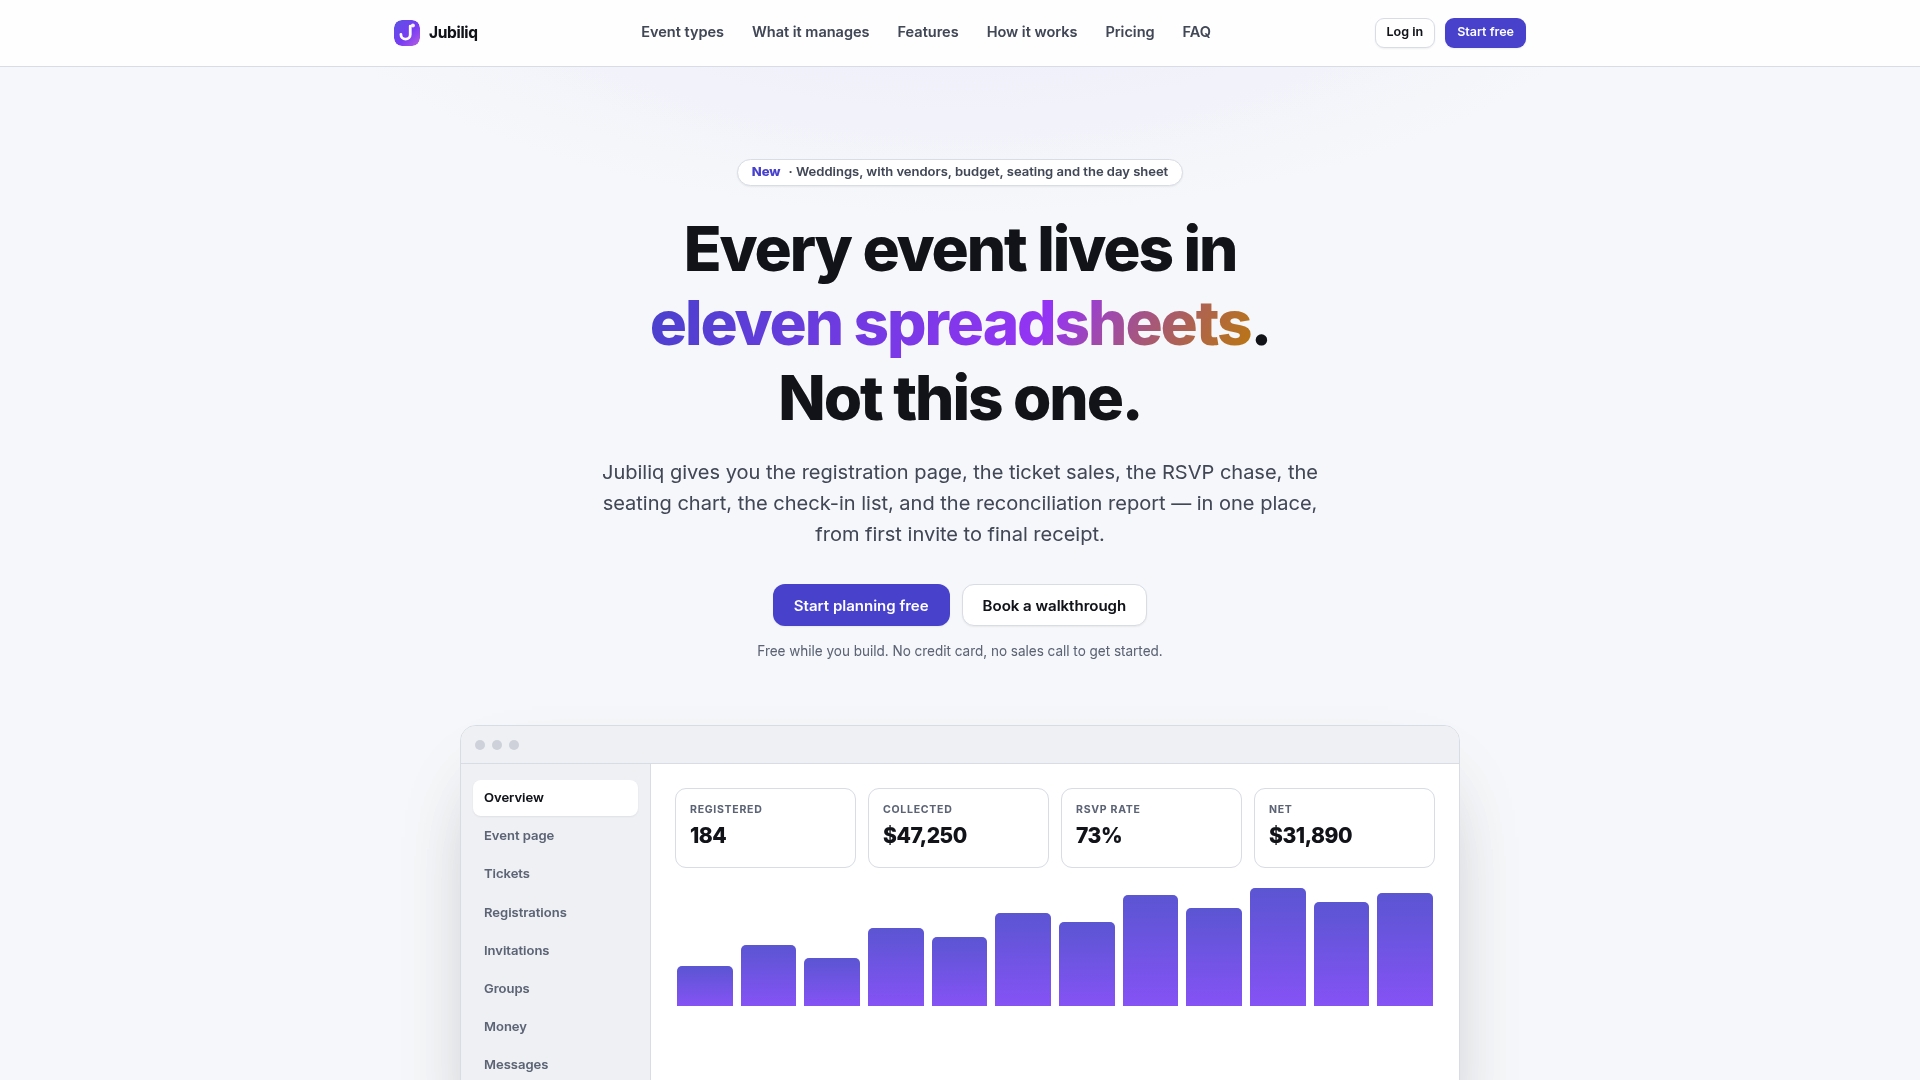
We built Jubiliq to help with fundraiser planning, so you can spend setup day on the room instead of the paperwork.
- Custom workflows for fundraisers and galas
- Donation handling and ticket sales
- RSVP tracking and guest communication
- A printable day sheet for volunteers
On setup day, you can use our platform to assign each volunteer a task and track progress as items go up. Our Starter plan is free for each event, and Organizer charges 2% per paid registration. See our plans to start building your auction.
FAQ
Are silent auctions profitable?
They can be, when items are well presented and promoted. Revenue depends on item quality, bidder turnout, and clear rules, so a balanced catalog and good promotion matter most.
How do I set pricing for a silent auction?
Set each starting bid at a reasonable share of the item’s value, then choose an increment that fits its price. The EventCaddy guide explains how the minimum bid sets the increment.
What sells well at silent auctions?
Experiences, themed baskets, gift certificates, and unique packages tend to attract bids. A mix of high-value and low-priced items gives every guest something to want.
What should silent auction items start at?
Start at a share of retail value that invites early bids without undervaluing the donation. Apply the same rule across items so pricing feels fair.